
Customer Communication
Communicating with Customers
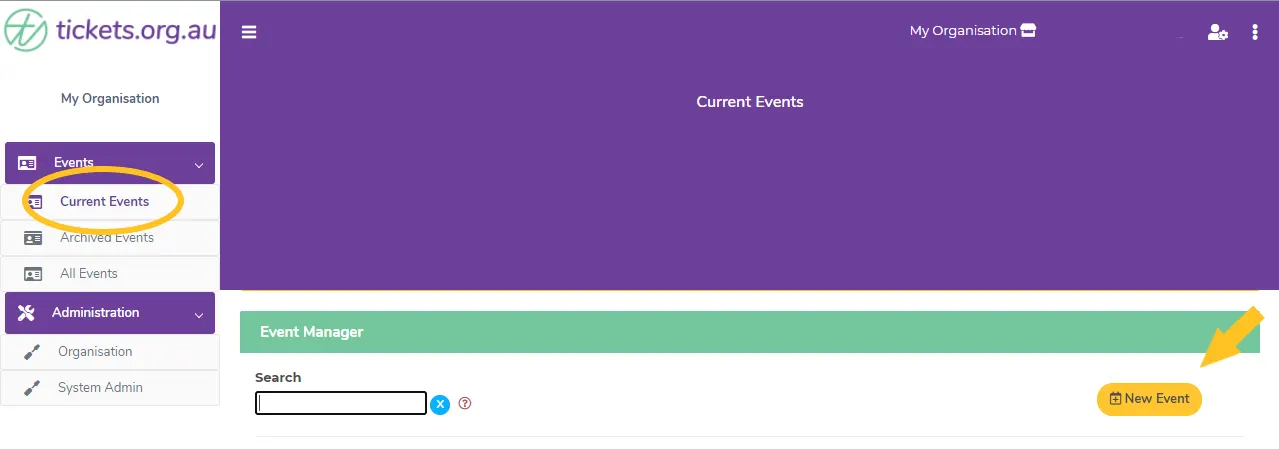
Once you have either opened a new event or if you need to edit an event that already exists click ‘edit event’ on one that’s already there, there are 3 tabs of information to work your way through. Start on the EVENT DETAILS tab and make sure all ‘Mandatory Fields’ are complete.
Event Information Tab
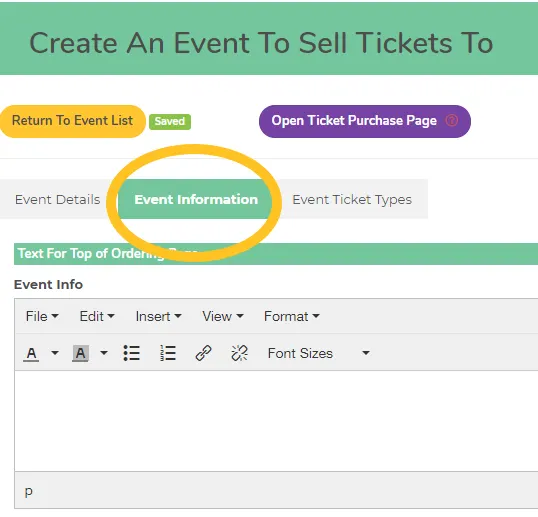
The first opportunity you have to communicate with your potential attendees is via the Event Information. This is the text that is displayed on your unique ticket purchase page. This is the first information available to anyone who clicks a link that takes them to your event tickets page.
There are a number of sections to work through here that all serve their own purpose. For maximum results, take the time to fill in every section. The more you can tell your potential attendees the easier it is for them to commit to attending your event.
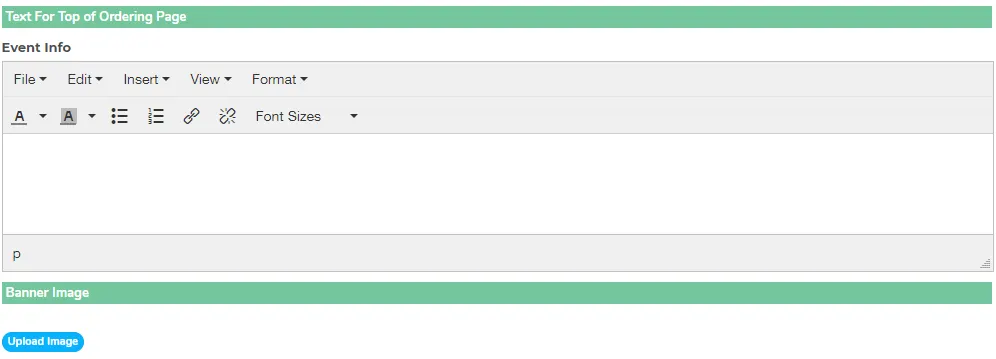
The first 2 sections in the Event Information tab are where you include all the information about your event that you want people to know. It is fully editable and easy to format so you can bold important points, change font colours and more. Whatever you type in this text box is exactly how it will display on your ticket page and there is no space limit!
Underneath the text box is where you can upload an image for your event (see screenshot below). This image will be used on your ticket page as well as a header in the confirmation email your customers receive – so be mindful of shape and dimension of this.
We recommend your event image:
- is rectangle in shape and 1000 x 400 pixels in size
- doesn’t have many words or details – don’t put all your important info here
- is easily identifiable/recognisable
- is relevant to your event
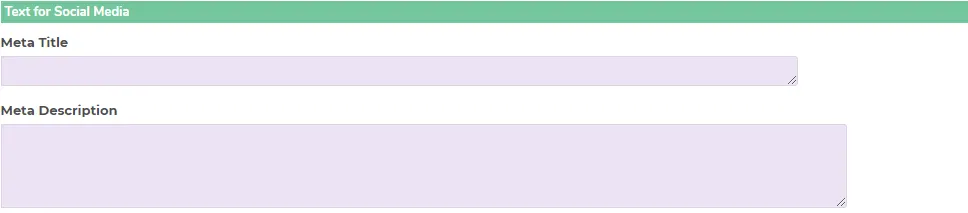
The next step is where you can add a title (usually your event name) and some text that will display whenever you share your event URL on social media. It’s not a necessary step to set this up, but if it’s likely you’ll share your event on any social platform it’s a good idea!
Text for Confirmation Email
This section can hold as much or as little information as you like. It is fully editable – in the same way the Event Info box is. Size 12 font is optimal for text. All information you include here will display in the Confirmation Email for every ticket order.
We recommend you use this section to convey as much information as you can to your attendees. The more you tell them now, the less you need to follow up later.
Think about including: what to bring; where to park; when to arrive; who to contact etc.
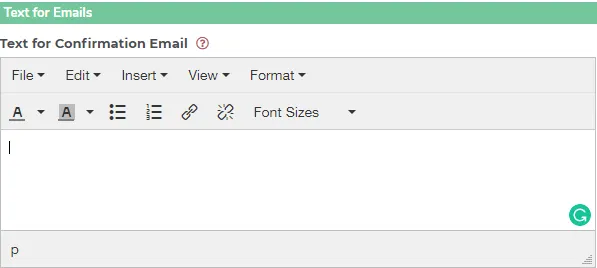
The final step in the Event Information tab is where you add a message to be included in the ticket confirmation email that your attendees will receive when they purchase a ticket – for all events including no-cost events.
If you don’t add anything, they will see the default text as shown.
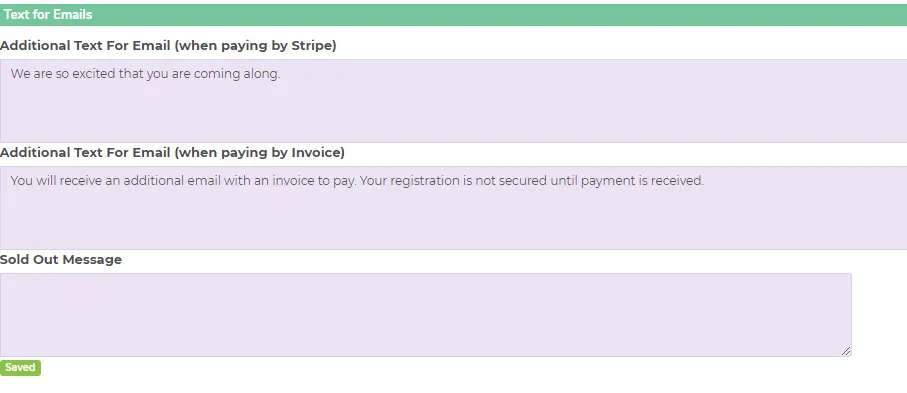
Follow up Communication
Another great tool available to you is to integrate your tickets.org.au event with your Mailchimp account. By doing this, you can target communication specifically to those who have registered for your event and send them reminders or even include them in marketing for future events etc.
For more information about connecting to Mailchimp click here.
Has this answered your question? If not, head back to the Help Centre, jump on the chat, or send us an email at [email protected].