Creating and Editing Events
Whether you are creating a brand new event or need to edit or go back and fill in details for an event you’ve already created, everything looks pretty much the same.
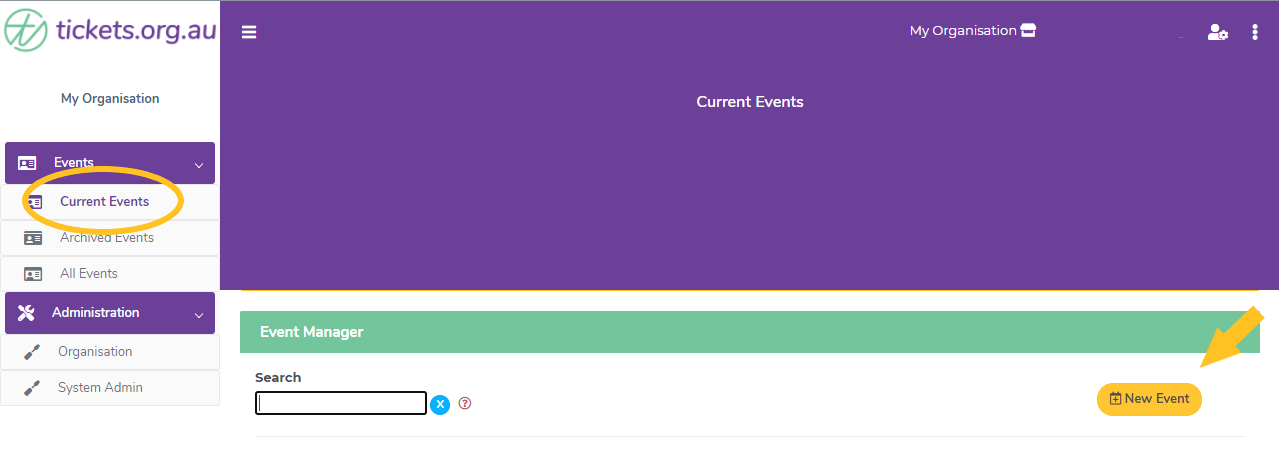
To create a new event, when you’re logged in, and in the ‘Current Events’ view, click the yellow button on the right that says ‘create new event’.
Once you have either opened a new event or if you need to edit an event that already exists click ‘edit event’ on one that’s already there, there are 3 tabs of information to work your way through. Start on the EVENT DETAILS tab and make sure all ‘Mandatory Fields’ are complete.
Event Details Tab
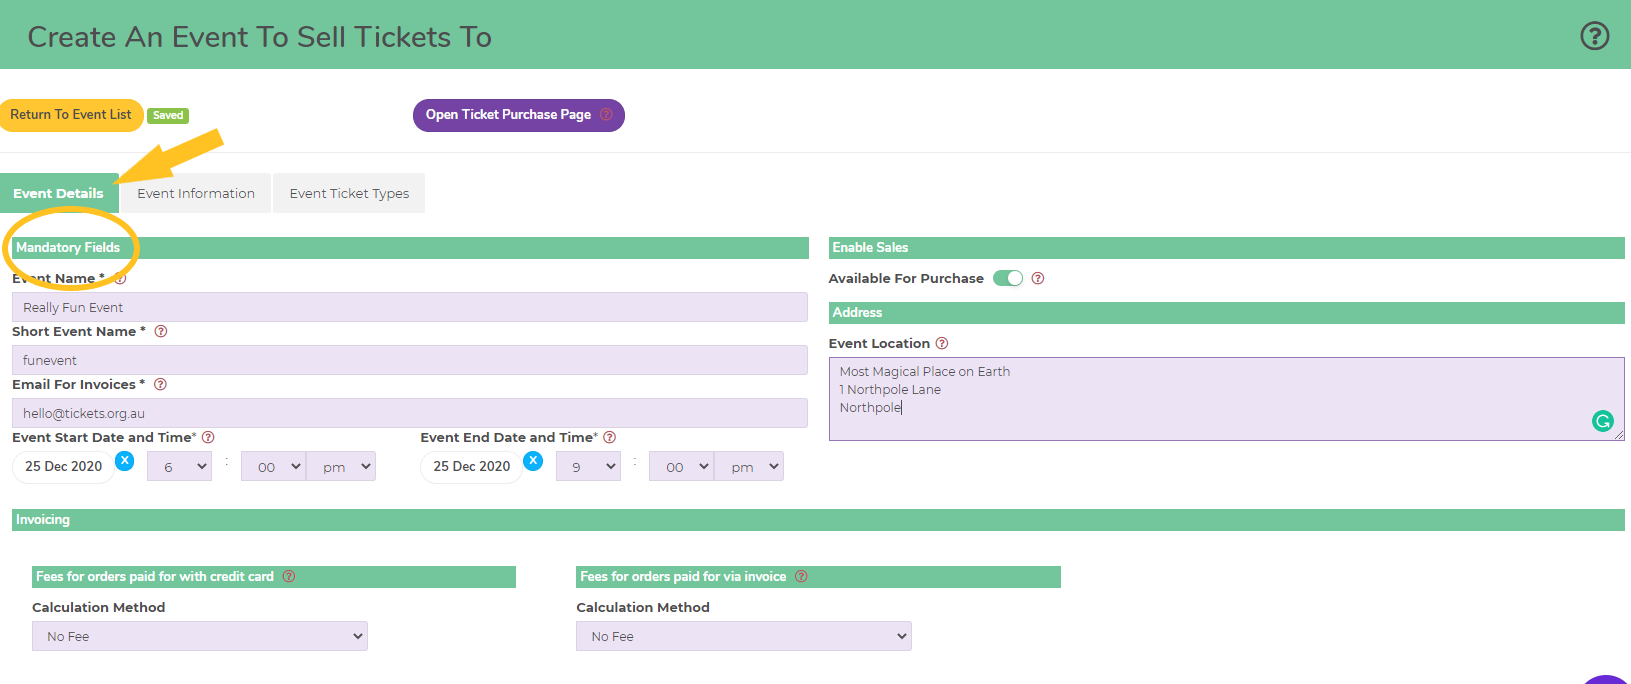
Note, at this point, you have the option of choosing not to make your tickets available for purchase just yet. The default setting will have this toggled ‘on’.
You can also choose whether to display your event on your Current Events Page. This is the page visible to anyone via the url with your organinsation short name ie app.tickets.org.au/mycompany

Who pays the fees?
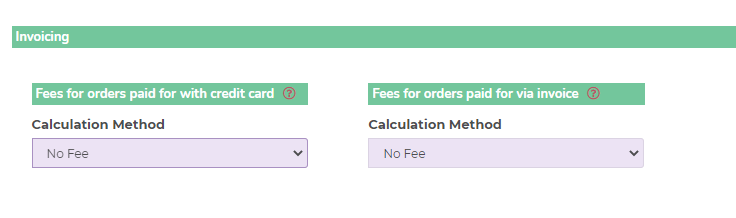
At this point you need to decide who is going to cover the cost of the processing fee for those paying via credit card (and invoice and direct debit if you have opted in to those options).
From the dropdown menu under Calculation Method you can choose:
- No fee – the event organiser will absorb all fees
- Fixed order fee – you can set a dollar amount that will be paid directly to you to either offset processing fees or to cover your admin costs etc.
- Percentage of total order – rather than a fixed dollar amount set a percentage of cost
- Full fee paid by attendee – as it suggests, all fees are passed on to the ticket buyer
Sync to Mailchimp Audience
If you have connected your tickets.org.au account to your Mailchimp account and would like to sync the data for this event to Mailchimp, toggle on the ‘Sync to Mailchimp’ button and select the Mailchimp Audience you would like to sync with.

Event Information Tab
Once all the mandatory fields are complete, move on to the next tab: EVENT INFORMATION.
Work your way through, putting as much information as you like into each box – keep reading for more detail on each section.
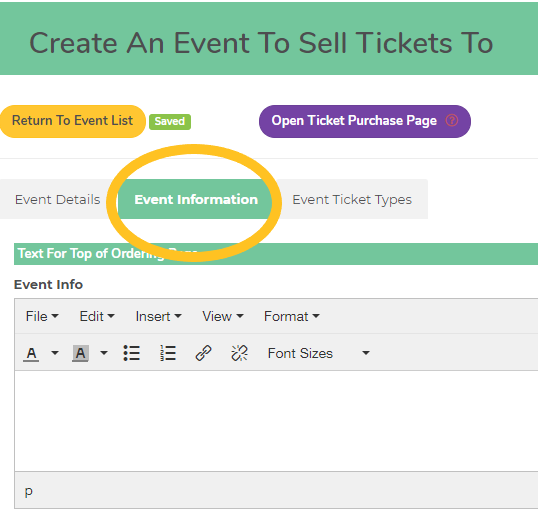
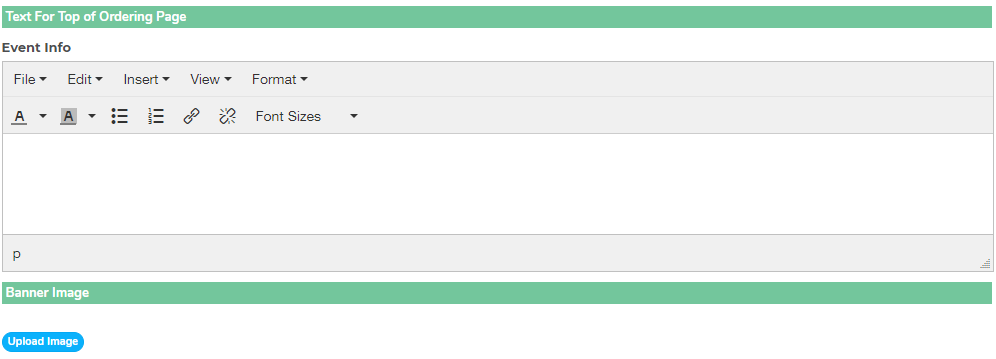
The first 2 sections in the Event Information tab are where you include all the information about your event that you want people to know. It is fully editable and easy to format so you can bold important points, change font colours and more. Whatever you type in this text box is exactly how it will display on your ticket page and there is no space limit!
Underneath the text box is where you can upload an image for your event (see screenshot below). This image will be used on your ticket page as well as a header in the confirmation email your customers receive – so be mindful of shape and dimension of this.
We recommend your event image:
- is rectangle in shape and 1000 x 400 pixels in size
- doesn’t have many words or details – don’t put all your important info here
- is easily identifiable/recognisable
- is relevant to your event
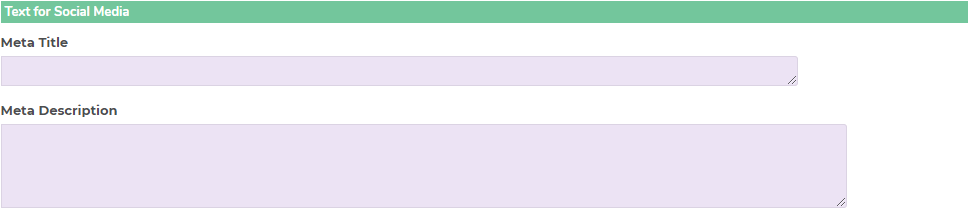
The next step is where you can add a title (usually your event name) and some text that will display whenever you share your event URL on social media. It’s not a necessary step to set this up, but if it’s likely you’ll share your event on any social platform it’s a good idea!
Using QR Codes
At this stage, you can opt to add a unique QR code to each ticket order that will appear at the top of the confirmation email your attendee will receive. This gives you the option of using our free mobile app to quickly check-in people to your event.
Note: If you don’t turn this on when setting up your event and then change your mind, edit your event, turn it on, and resend your confirmation emails, which will give all those existing tickets a QR code. To find out more about using this feature, click here.

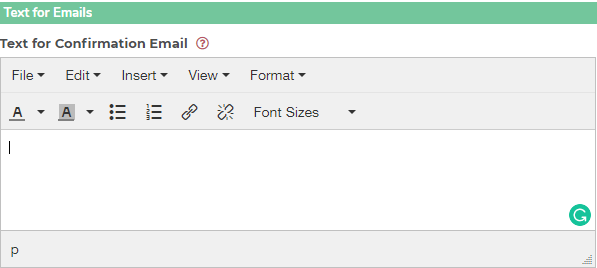
Text for Confirmation Email
This section can hold as much or as little information as you like. It is fully editable – in the same way the Event Info box is. Size 12 font is optimal for text. All information you include here will display in the Confirmation Email for every ticket order.
We recommend you use this section to convey as much information as you can to your attendees. The more you tell them now, the less you need to follow up later.
Think about including: what to bring; where to park; when to arrive; who to contact etc.
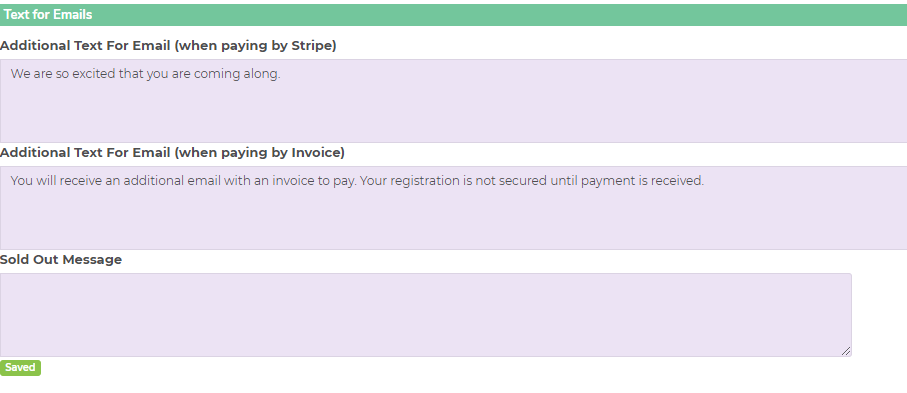
The final step in the Event Information tab is where you add a message to be included in the ticket confirmation email that your attendees will receive when they purchase a ticket – for all events including no-cost events.
If you don’t add anything, they will see the default text as shown.
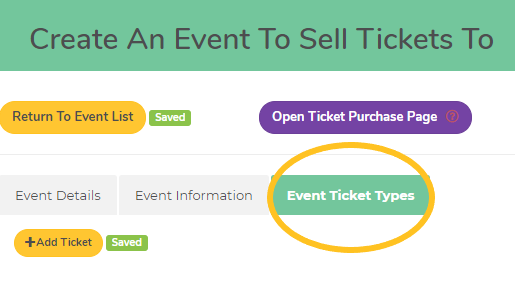
Event Ticket Types Tab
Setting up tickets is an essential part of the process!
This is the final step you need to complete before getting ticket sales – setting up the types of tickets you want to sell on the EVENT TICKET TYPES tab.
The first tab – TICKET QUESTIONS
In the top section carefully work your way through each box. You can hover over the red question marks for more details about what is required in each box. The more accurate you get this part, the more issues you avoid later.
The second part of the process is adding the questions you want to ask your attendees. The default setting is first name and surname – these are the minimum fields you will need for your tickets.
To add more questions, first check out what’s available by clicking the purple ‘Show Question Library’ button. We have added a whole lot of options that you can choose from to help make the process easier for you. If there is information specific to your event that is not shown, you can add any type of new question from the blue buttons shown and type in the details you want to know – the possibilities are endless! For more about all your ticket question options, check out the extra information here.
For each question, be clear about whether it’s information you need to know or would simply be helpful. You can make any question mandatory (must be answered by every attendee) or not (attendees only answer if they want to or if the question is relevant to them).

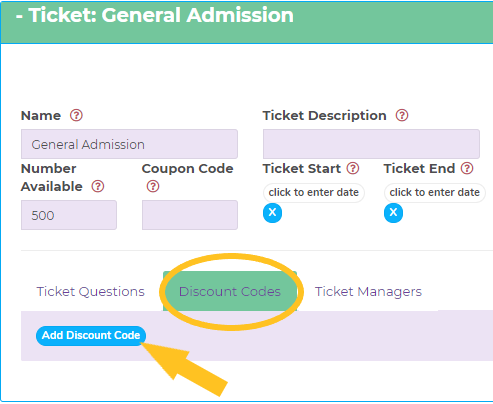
The second tab – DISCOUNT CODES
If you intend to offer discounted tickets for your event, for example, a family discount, team discount or VIP discount, this is where you create those.
Click the blue ‘Add Discount Code’ button to get started then work your way through be boxes that follow. You can create as many discount codes as you like! For more about the difference between discount codes and coupon codes see the FAQ’s here.
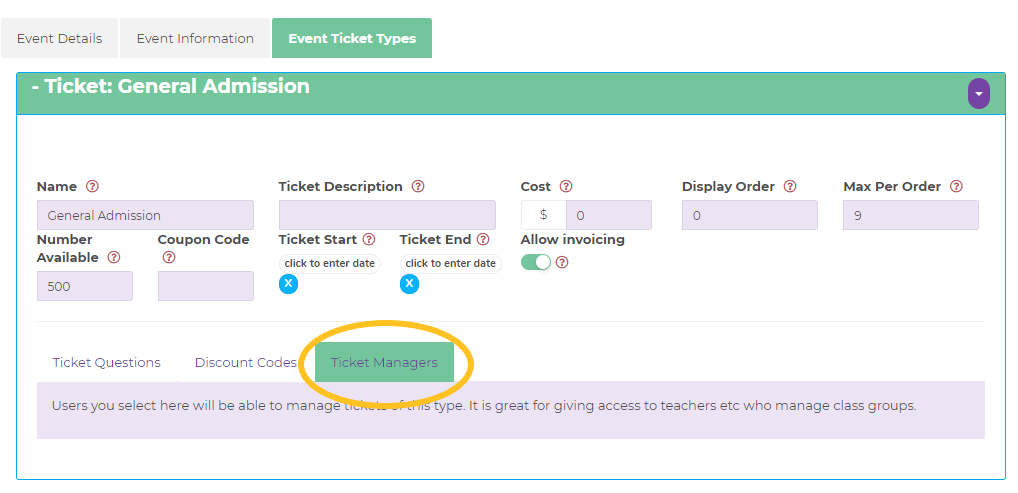
The third tab – TICKET MANAGERS
This is the final piece of the puzzle for those who are looking for the ultimate experience in functionality. To allocate Ticket Manager status to someone they must have created an account and be attached to your Organisation. You will then see their name here with a toggle bar. If you give someone Ticket Manager access to your ticket they will be able to make edits to the ticket/s nominated, perform the ‘Check In’ function at your event under their own login and manage attendee details in the system.
Note: A ticket manager can only checkin people for tickets they manager. An Event Manager or Administrator can check-in anyone for the company they have access to.
Has this answered your question? If not, head back to the Help Centre, jump on the chat, or send us an email at support@tickets.org.au.